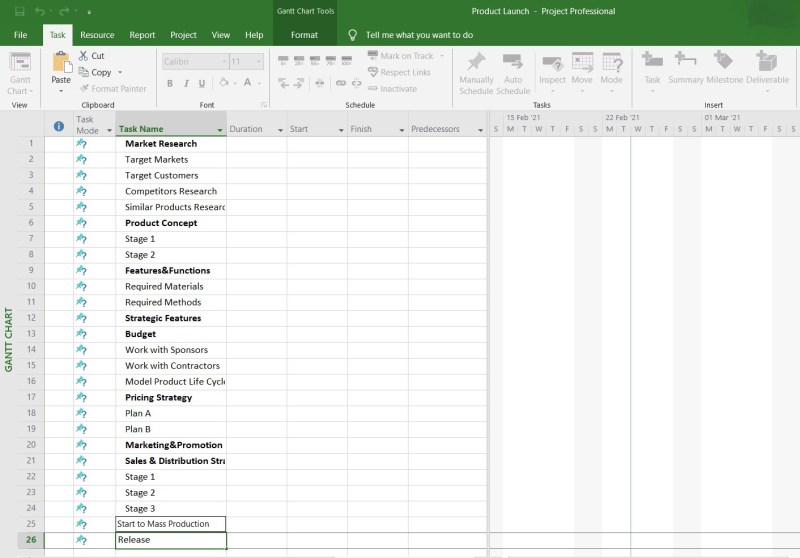
How To Create A Project Schedule In Microsoft Project – The Calendar view in Microsoft Project shows the tasks in the project in calendar style. The calendar view in Microsoft Project helps you show which tasks are scheduled for which days in the calendar view. You can switch to this view of your task log by clicking the “Calendar” button in the “Task Views” button group on the “View” tab of the ribbon. Within the calendar view in Microsoft Project, each task is represented by a rectangle containing the task name and duration. You’ll see the “Format” tab appear on the ribbon in the “Calendar Tools” context tab. You can use the buttons on this tab to change the visual elements of this view.
You can click the “Text Styles”, “Style Styles” and “Writing Lines” buttons in the “Format” button group on the “Format” tab of the “Calendar Tools” context tab on the ribbon to change the visibility of sections. Categories of bars and grid lines in text, calendar view.
How To Create A Project Schedule In Microsoft Project

You can click the menu icon that appears in the lower right corner of the “Layout” button group in the “Format” tab of the “Calendar Tools” context tab within the ribbon to open the “Layout” menu. Here you can choose how to display the calendar and its functions. You can select “Use current sort order” or “Try to match as many functions as possible” option on the screen. You can check or uncheck the “Show Split Bars” checkbox and use “Auto Layout”. Once done, click the “OK” button to apply your settings.
Project Schedule Api Performance
Calendar view in Microsoft Project – Tutorial: Image of the “Layout” menu in the calendar view of a project file in Project 2013.

If you change you can click the “Layout Now” button in the “Layout” button group on the “Format” tab of the “Calendar Tools” context tab within the ribbon to use the layout you set. You can click “Adjust Week Height” to adjust the order of the displayed weeks to fit only the height of the works they contain. Note that to undo this action, you must click the “Cancel” button or manually resize the weekly heights to return to the default heights. You can position your mouse cursor at the bottom of any displayed weekly line until it changes to a single horizontal line intersected by a vertical arrow, and then click and drag to manually adjust the height of the displayed weekly lines.
You can click a day displayed in Calendar view in Microsoft Project and then click the “Task List” button in the “Show/Hide” button group on the “Format” tab of the “Calendar Tools” context tab on the ribbon to display a dialog box that lists the tasks that occur that day. You can click the “Close” button at the top of the window to close the window when you’re done viewing. You can check the “Task Summary Tasks” check box to display a row for the task summary task in the calendar view in Microsoft Project.

Exceptional Microsoft Project Training Courses
The following video lesson titled “Calendar View” shows how to use the Calendar View in Microsoft Project. This video lesson is from our complete Project 2013 training, “More Projects Made Easy v.2013-2010”.
Tagged under: Calendar View, Calendar View in Microsoft Project, Edit, Tutorial, Publish, Format, Help, How To, Instructions, Learn, Lesson, Microsoft Project, Microsoft Project 2010, Microsoft Project 2013, Overview, Project, Project 2010, Project 2013 , project file, project files, project, show, share, teach, train, teach, use, video, view, view Microsoft Project offers a variety of options to create a new project easily and quickly. You can start a project from scratch or use a ready-made template to get started quickly. When we start Microsoft Project, we see a screen like in Figure-1

This gives us the option to create a blank project if we want to start from scratch. Agile is becoming quite popular. Two templates have recently been made available for starting an Agile project – using Scrum or with Kanban. We can start a normal project using waterfall. If the new plan is similar to an existing plan, it is wise to create a new plan using the existing plan and make changes to it. If we have already planned something in Excel, MS Project gives an option to start a new project from an Excel workbook. If we are using SharePoint and want to organize a project we created in SharePoint, there is an option to start a new project with a SharePoint task list. Microsoft Project also offers several ready-made templates to quickly start a new project. Let’s go into details to understand how these features can be used to our advantage.
Microsoft Project To P6 Conversion Tips
To start a new blank project, start the project and select “Blank Project” or “Waterfall Project”. See Figure-2. This will open a blank project. We can add tasks, resources and schedule our project.

It offers two options for starting an agile project – Scrum and Kanban (see Figure-3). We can use them based on our agile methodology.
Start the project and select “Scrum Project” if we are using the Scrum method or “Kanban Project” if we are taking the Kanban method. See figure-4 and 5 for Scrum and Kanban structure. We can add tasks to the backlog and organize them in sprints or on a Kanban board based on our methodology.

Microsoft Project Planner
We can create a new project using an existing project. Start the project and select “New from existing project”. That will unlock that mission. We can save it using Save As with a different name and remove the baseline and actual data to plan a new project. This is similar to opening an existing project and saving it with a new project name. Remove the baseline and actual data to plan a new project. See Figure 6.
I don’t consider this a good option as all baselines and real data are withheld. We need to remove this data which can be difficult and voluminous. A better option is to create a template from an existing project with the option to remove the baseline and actual data, and then create a new project from this template.

This method can be used if we already have the data in Excel. This option is suitable for people who have been using Excel till now and now want to switch to MS Project. Another case is that we have received organizational data from another source in Excel. See Figure 7
Project Plan Template For Word & Excel (free Download)
Please don’t expect a very smooth transition. Reformatting, adapting, allocating resources etc. is important. Before planning the project.

If we are using SharePoint and we have a list of tasks to do, we can use MS Project to organize these tasks. Not only we can schedule but also we can synchronize MS Project and SharePoint so that we can get updates about project progress in MS Project from SharePoint. See Figure 8
When we select “New from SharePoint task list” it will open a window for SharePoint address. Provide the SharePoint URL and sync. We can synchronize whenever we make changes to a project or we want a progress update from SharePoint.

Creating Your First Project Plan With Microsoft Project
MS Project comes with several built-in templates available online to make our work easier when we start a unique project. Looking at the various tasks that professionals often plan, Microsoft has provided various templates. We can use a template that is closest to the task we want to schedule. When we start a project or select New in the File menu, several frequently used templates appear to select one. We can search for a template with the search box at the top. See the picture
When we select a template, it opens a window showing the selected templates and asks us to enter the project start date and click “Create”. Clicking Create will open an MS Project with the contents of the selected template. We are free to provide the required information.

Once we create a project using any of the methods specified above, the next step is to provide basic information like project start date, whether we want to finish from start or start to finish, default work calendar etc.
Microsoft® Project Hands On Training
Go to “Project Tab” and click on “Project Information”. The Project Information window opens. See Figure 10. We will provide the project start date if it is not already specified. If we want to schedule the project backwards we can choose to provide a finish date instead of a start date ie. From end to beginning. We can do that by selecting “Project Completion Date” from the “Estimated” drop-down list.

We also have to select a task calendar. By default it is ‘Standard’ ie. Monday through Friday, 8:00 a.m. to 5:00 p.m. with a one-hour lunch break. We can select “Night Shift” or “24 Hours”. We can also create a custom calendar and use it as the default calendar. How to create a custom calendar will be discussed later.
Next step from here

Free Project Timeline Templates
How to create s curve in microsoft project 2010, how to create a work breakdown structure in microsoft project, how to create gantt chart in microsoft project, how to create a subtask in microsoft project, how to create microsoft project plan, how to create a project plan in microsoft project, how to create subtasks in microsoft project, microsoft project how to create subtasks, how to create s curve in microsoft project, how to create a project schedule in microsoft project, how to create a microsoft project plan, how to create a gantt chart in microsoft project